📥 Importing models and items
🔁 Import steps
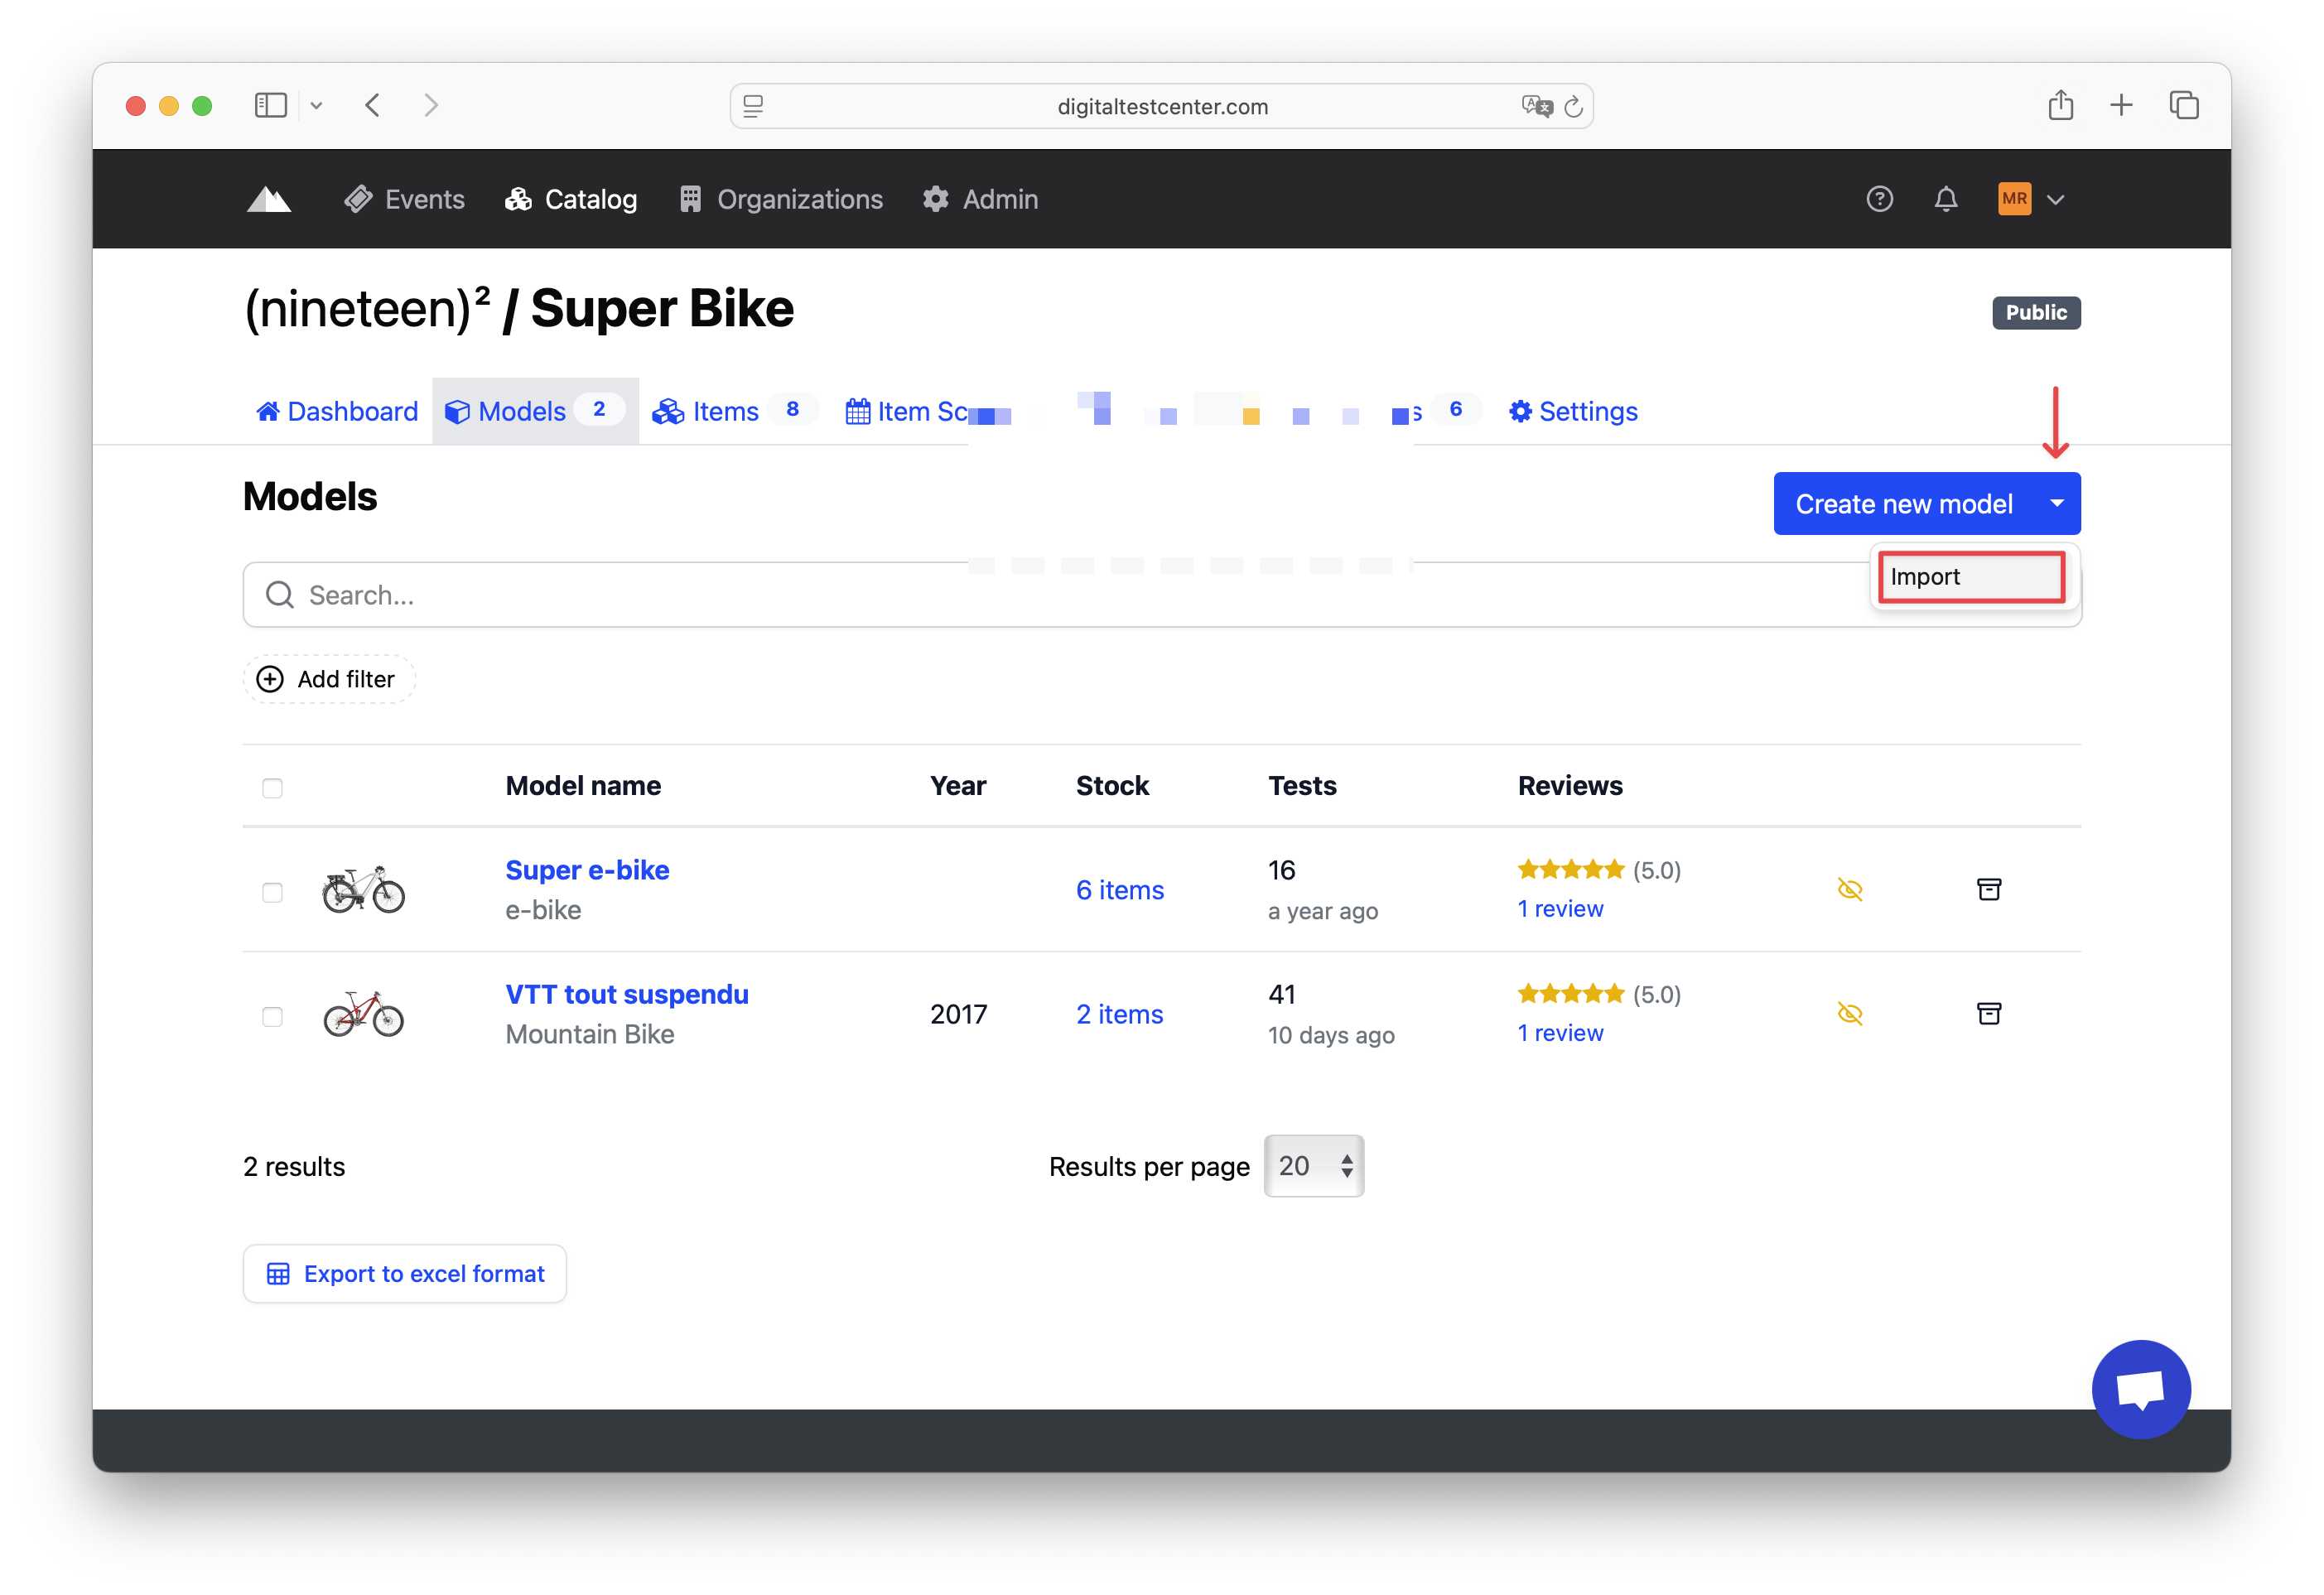
- Go to the Models tab.
- Click on the dropdown menu of the Create a new model button.
- Select Import.
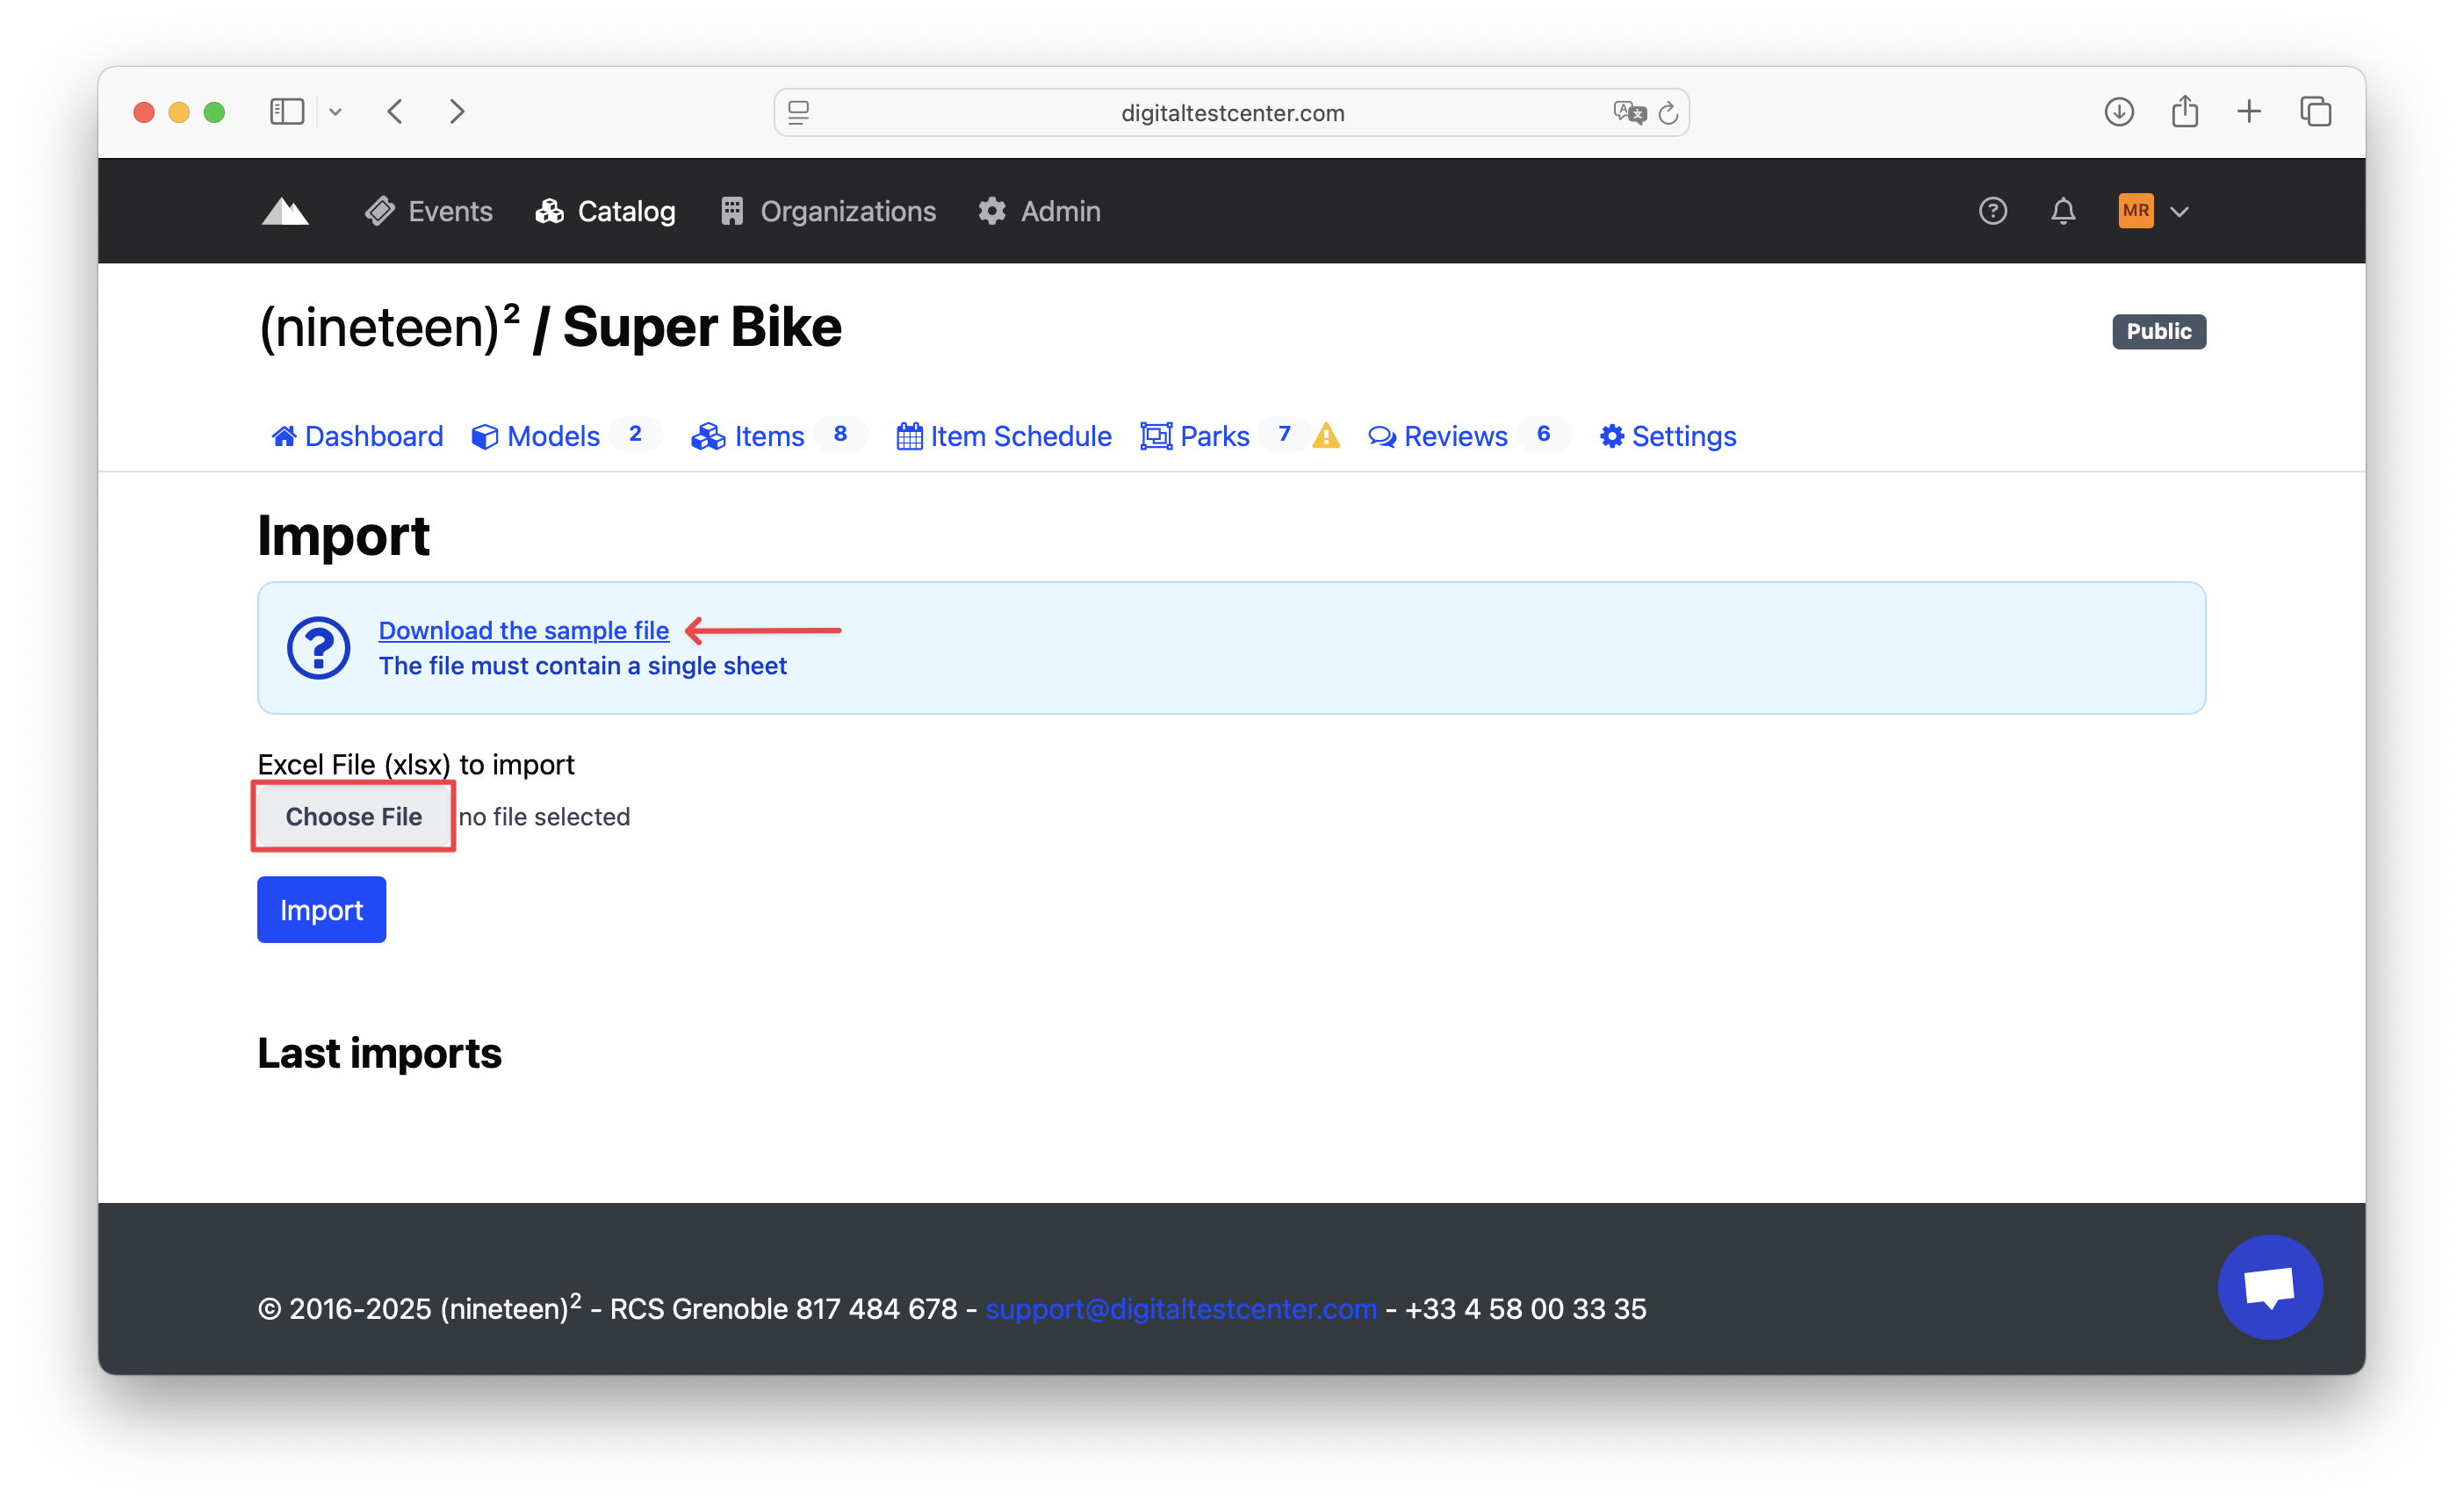
- Download the import template file: This file can be used either as a blank template to fill in or as a base to structure your data.
- Once your Excel file is completed: Click Select a file or drag and drop your file into the designated area, then click Import to start the process.
📝 Import page details
The goal is to match the columns of your XLSX file with the required or optional fields in our system.
Select what you want to import:

- Models
- Items
- Both at the same time
Update only?

If this option is checked, only existing models/items will be updated, based on their identifier.
No new elements will be created.
Identifiers: how they are used

The identifier determines how models or items are uniquely recognized.
Choosing the right identifier is important. Depending on the type of import (models, items, or both) and whether you are performing an update, the options may vary:
| Identifier | Purpose |
|---|---|
| Model Reference | Ensures models are unique per brand by using their reference code. |
| Model Name | Checks uniqueness based on the model’s name. |
| QR Code | Ensures an item is unique by using its QR code. |
💡 Example:
A model with the reference ABC123 and the name Ski Shoes X can be matched using either the model reference or the model name, depending on your file structure.
⚠️ Important Information
- Duplicate identifiers in your file will be ignored to avoid conflicts.
- Each row in the file must contain a unique identifier to ensure accurate matching with existing data.
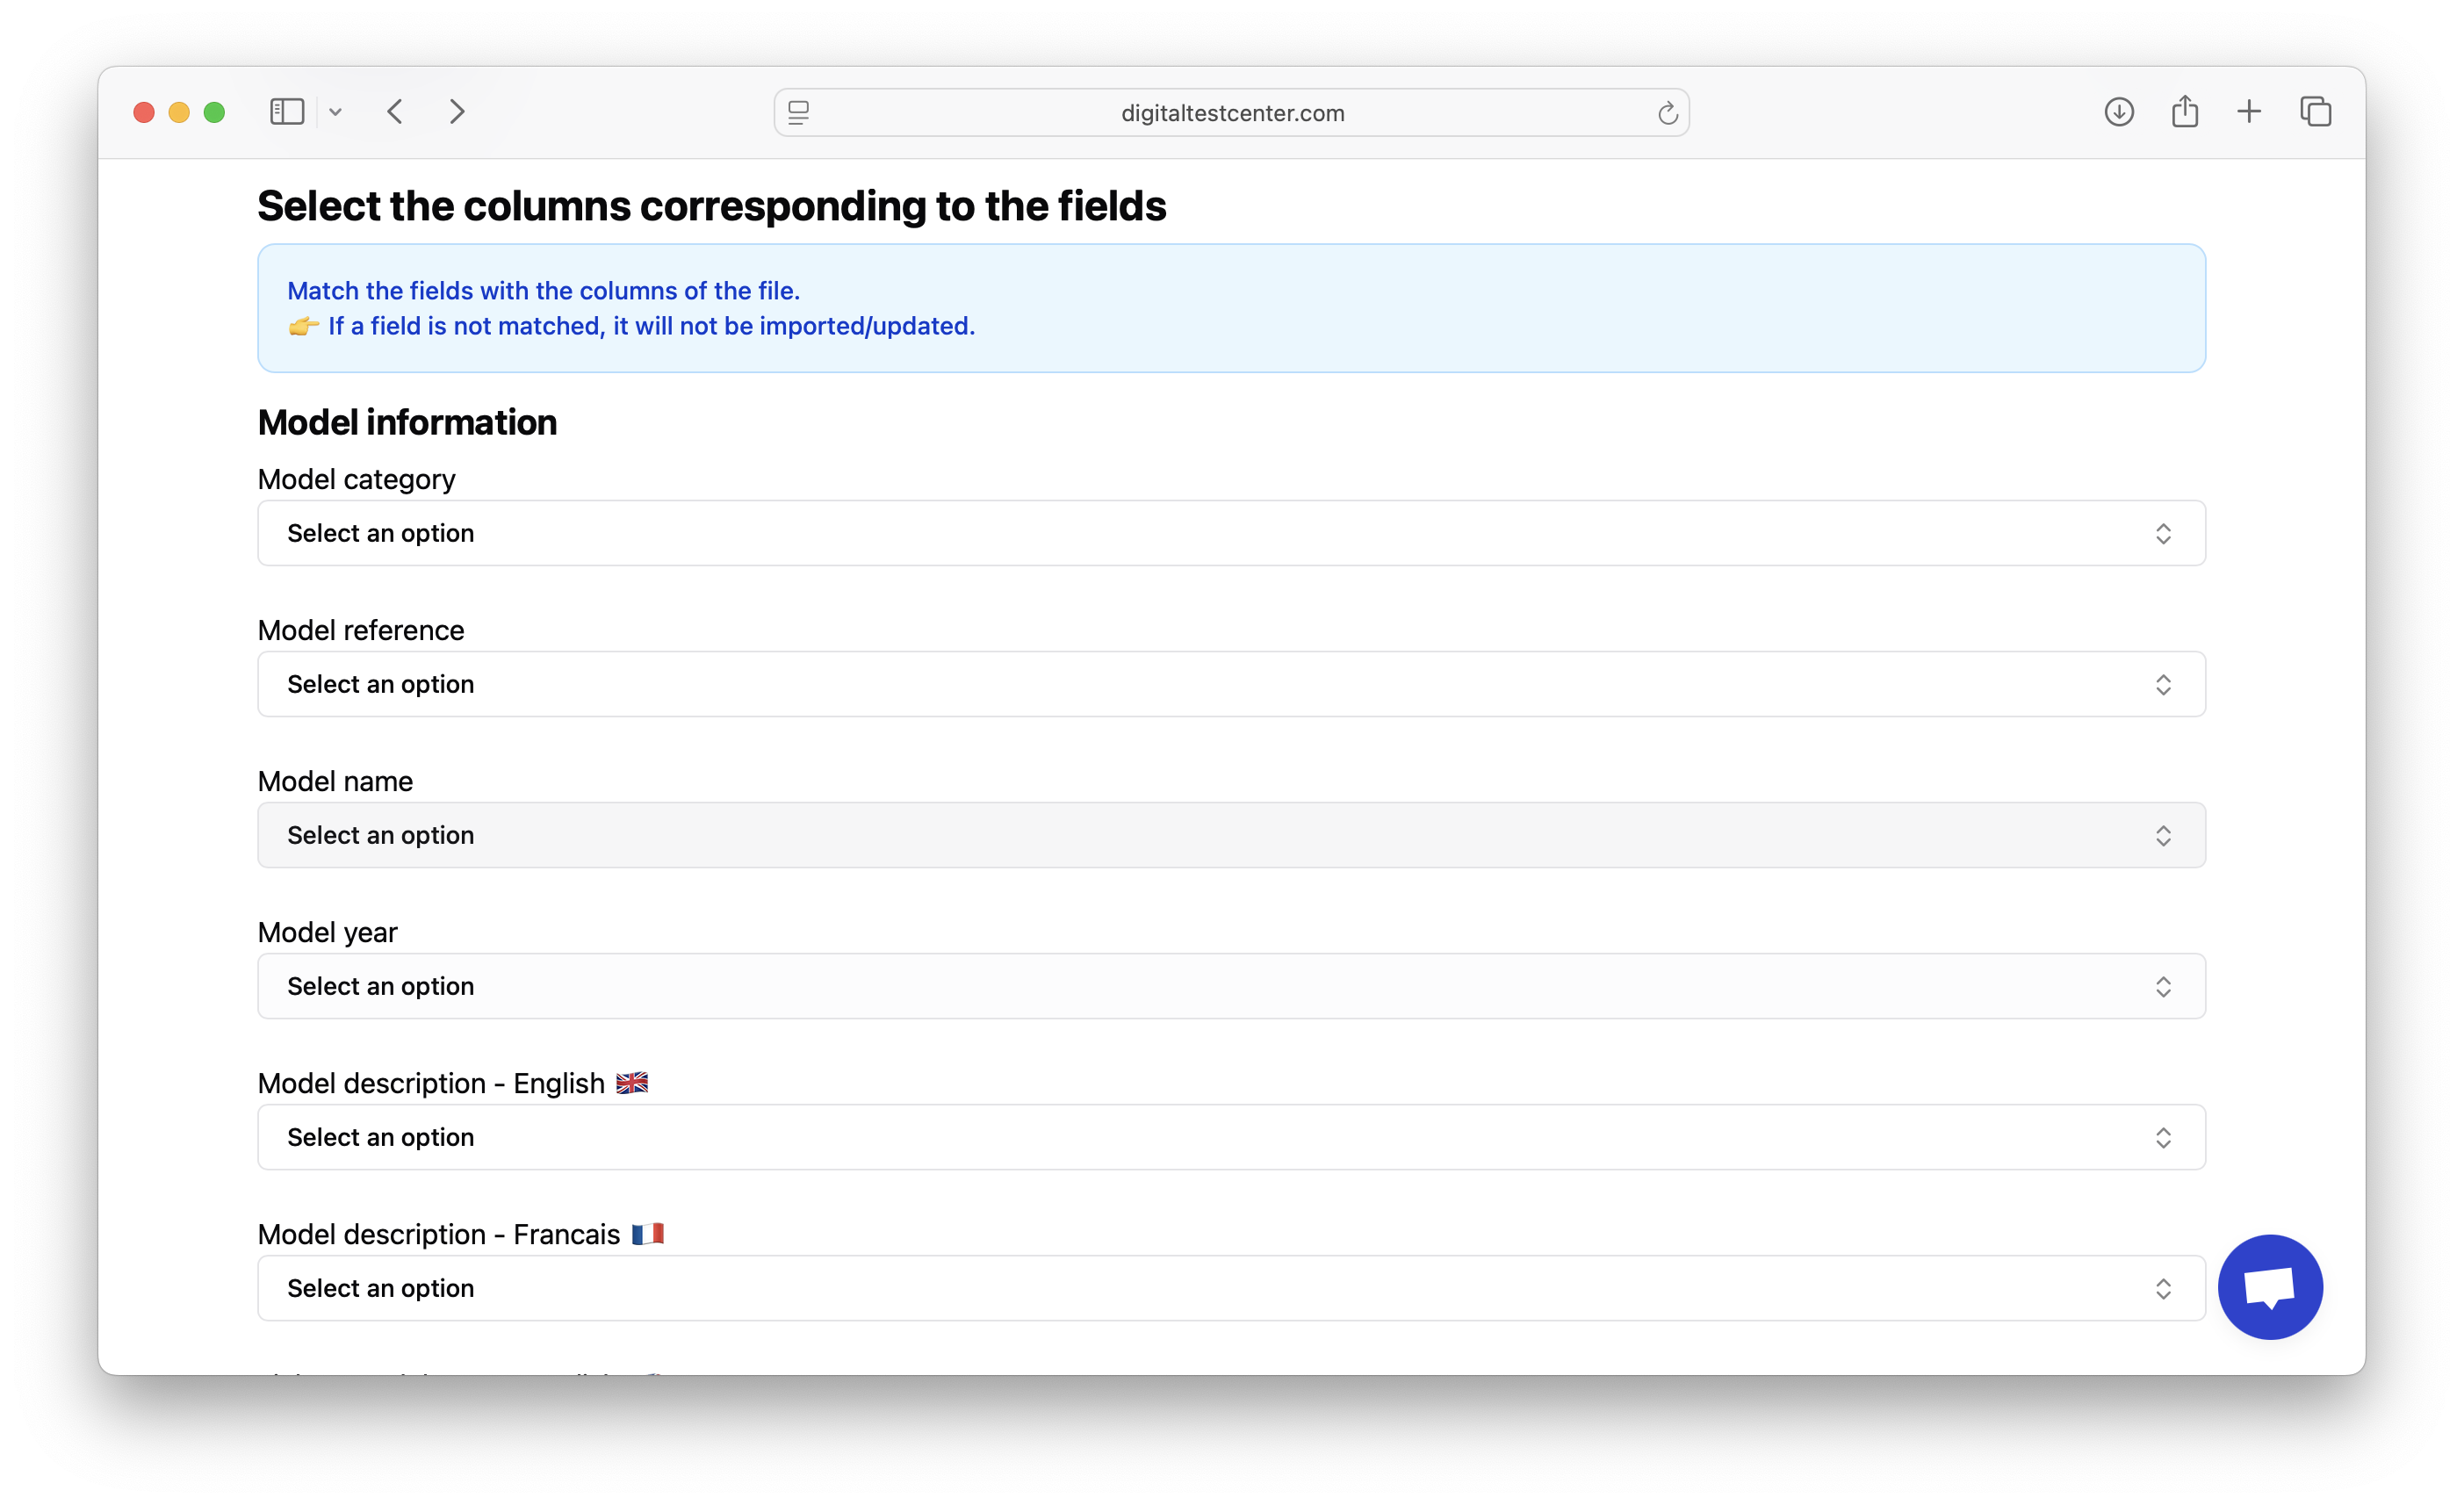
🗂️ File matching
Final step: Match each field in the system with a column in your file.
👉 If a field is not matched to a column, it will not be imported or updated.
Automatically generated Barcode / QR Code
If your import file includes a column explicitly intended for barcode or QR Code, make sure to match it to the appropriate field in the "field matching" step. The system will then use the values provided in this column for each item.
If no column is selected for the barcode / QR Code, the system will automatically generate a unique barcode for each imported item.
⚠️ Useful notes:
- Automatically generated barcodes are unique within your catalog.
- If you provide your own barcodes, avoid duplicates and ensure they comply with the required format.
- This automatic option simplifies the import process if you do not have pre-assigned barcodes.
Make sure all essential fields (reference, name, QR code, etc.) are properly mapped to guarantee a smooth import process.
Then confirm the import by clicking the Import button.